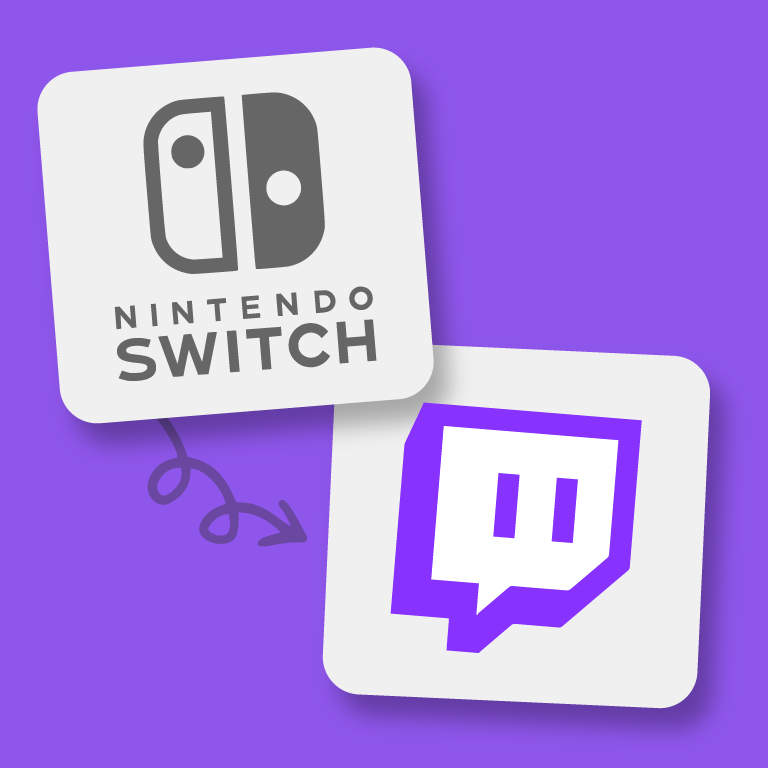
There are lots of great games on the Nintendo Switch to stream, with Mario Kart, Super Smash Bros or Zelda, to name a few. But – streaming on the Switch is not as straightforward as on the PC. Here's what you need to do in order to begin streaming on Twitch with your Nintendo Switch.
What you'll need to stream with your Switch:
- A Nintendo Switch console
- A Twitch account
- A capture card or Xbox One
- A computer with streaming software installed (such as OBS or Streamlabs OBS)
- HDMI cables
Follow this step-by-step guide to set up your Nintendo Switch to start streaming in Twitch.
1. Connect the Nintendo Switch to the capture card
The first step to start streaming on Twitch with a Nintendo Switch is to connect the console to the capture card with an HDMI cable. The capture card is a device that allows you to capture the video and audio output from the Nintendo Switch and send it to your computer. If you have an Xbox One, then you can use that instead of a capture card.
2. Connect the capture card to your computer
Then, you'll need to connect the capture card to your computer, most likely using a USB cable, but it can vary depending on your capture card. This will allow the streaming software to capture the video and audio from the Nintendo Switch and send it to Twitch.
3. Open your streaming software and set up a new source
When everything is set up, you'll need to open your streaming software (such as OBS or Streamlabs OBS) and set up a new source for the capture card. This allows the software to recognize the video and audio from the Nintendo Switch. You'll need to select the capture card as the source and configure the settings to match your streaming preferences.
4. Log in to Twitch and set up a new stream
Once you're happy with your settings, you'll need to log in to your Twitch account and set up a new stream. Make sure to select the category "Nintendo Switch" so that your stream is listed in the correct category. You can also configure other settings, such as the stream title and description and enable features like chat and alerts.
5. Configure your streaming settings
Before you start your stream, you will need to configure your streaming settings. This includes selecting the resolution and framerate, as well as setting the bitrate. These settings will affect the quality of your stream and the amount of data that is sent to Twitch. We know you'll want to aim for the highest possible quality, but you'll need to balance it with the limitations of your internet connection to make sure your stream won't lag.
6. Test if everything works
Before you go live, make sure everything is set up correctly. Turn on your Switch, check if you can see your screen in the OBS preview window and adjust the size accordingly. Do a final internet speed check and you're ready to go.
7. Start your stream and play!
Once you're happy with how everything is set up, you can start your stream and begin playing on your Nintendo Switch. Make sure to monitor your stream to ensure that the quality is consistent and that there are no issues with the video or audio. You can interact with your viewers through chat and other features on Twitch.
Note that you may need to adjust your streaming settings to ensure a smooth and high-quality stream. It's also important to make sure you have a strong and stable internet connection to avoid any interruptions or drops in quality during your stream. For more tips on how to improve your stream production quality, check out our Discord.
And that's how you set up your Switch for streaming on Twitch. After your stream is finished, make some clips and edit them for social media to promote your stream and gain more viewers. Try StreamLadder for free.